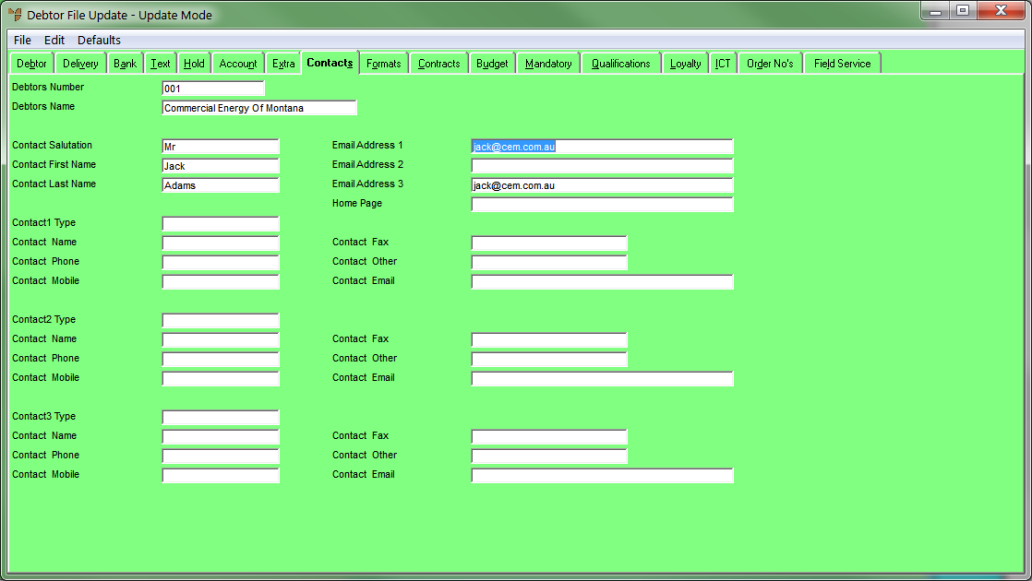
You use the Debtor File Update screen - Contacts tab to update details for a customer’s contacts. You can setup multiple contacts for a debtor's account.
Refer to "Adding a New Debtor" or "Updating a Debtor".
Micronet displays the Debtor File Update screen - Contacts tab.
|
|
Field |
Value |
|---|---|---|
|
|
Contact Salutation |
Enter the contact’s mode of address, e.g. Mr, Mrs, Ms. |
|
|
Contact First Name |
Enter the contact’s first name. |
|
|
Contact Last Name |
Enter the contact’s last name. |
|
|
Email Address 1, 2, 3 |
Enter up to three email addresses for the contact. If you are setting up inter-branch transfers / inter-company trading (IBT/ICT), Micronet sends back confirmations to the first email address you enter. For more information about ICT, refer to "Edit - Program - Inter Branch Transfer". If your company has a UTBox account, and this debtor wants to receive their invoices, statements and reports by fax, enter the debtor’s fax number in the appropriate Email Address field. For example, invoices might be sent to Email Address 2. You must also add @fax.utbox.net after the fax number, e.g. 61295422100@fax.utbox.net. |
|
|
Home Page |
Enter the Internet address of the customer’s home page. |
|
|
Contact Type |
Micronet updates the labels for the contact with the contact type. |
|
|
Contact Name |
Enter the contact’s name. |
|
|
Contact Phone |
Enter the contact’s phone number. |
|
|
Contact Mobile |
Enter the contact’s mobile phone number. |
|
|
Contact Fax |
Enter the contact’s fax number. |
|
|
Contact Other |
|
|
|
Contact Email |
Enter the contact’s email address. |
Refer to "Debtor File Update Screen - Menu Options".